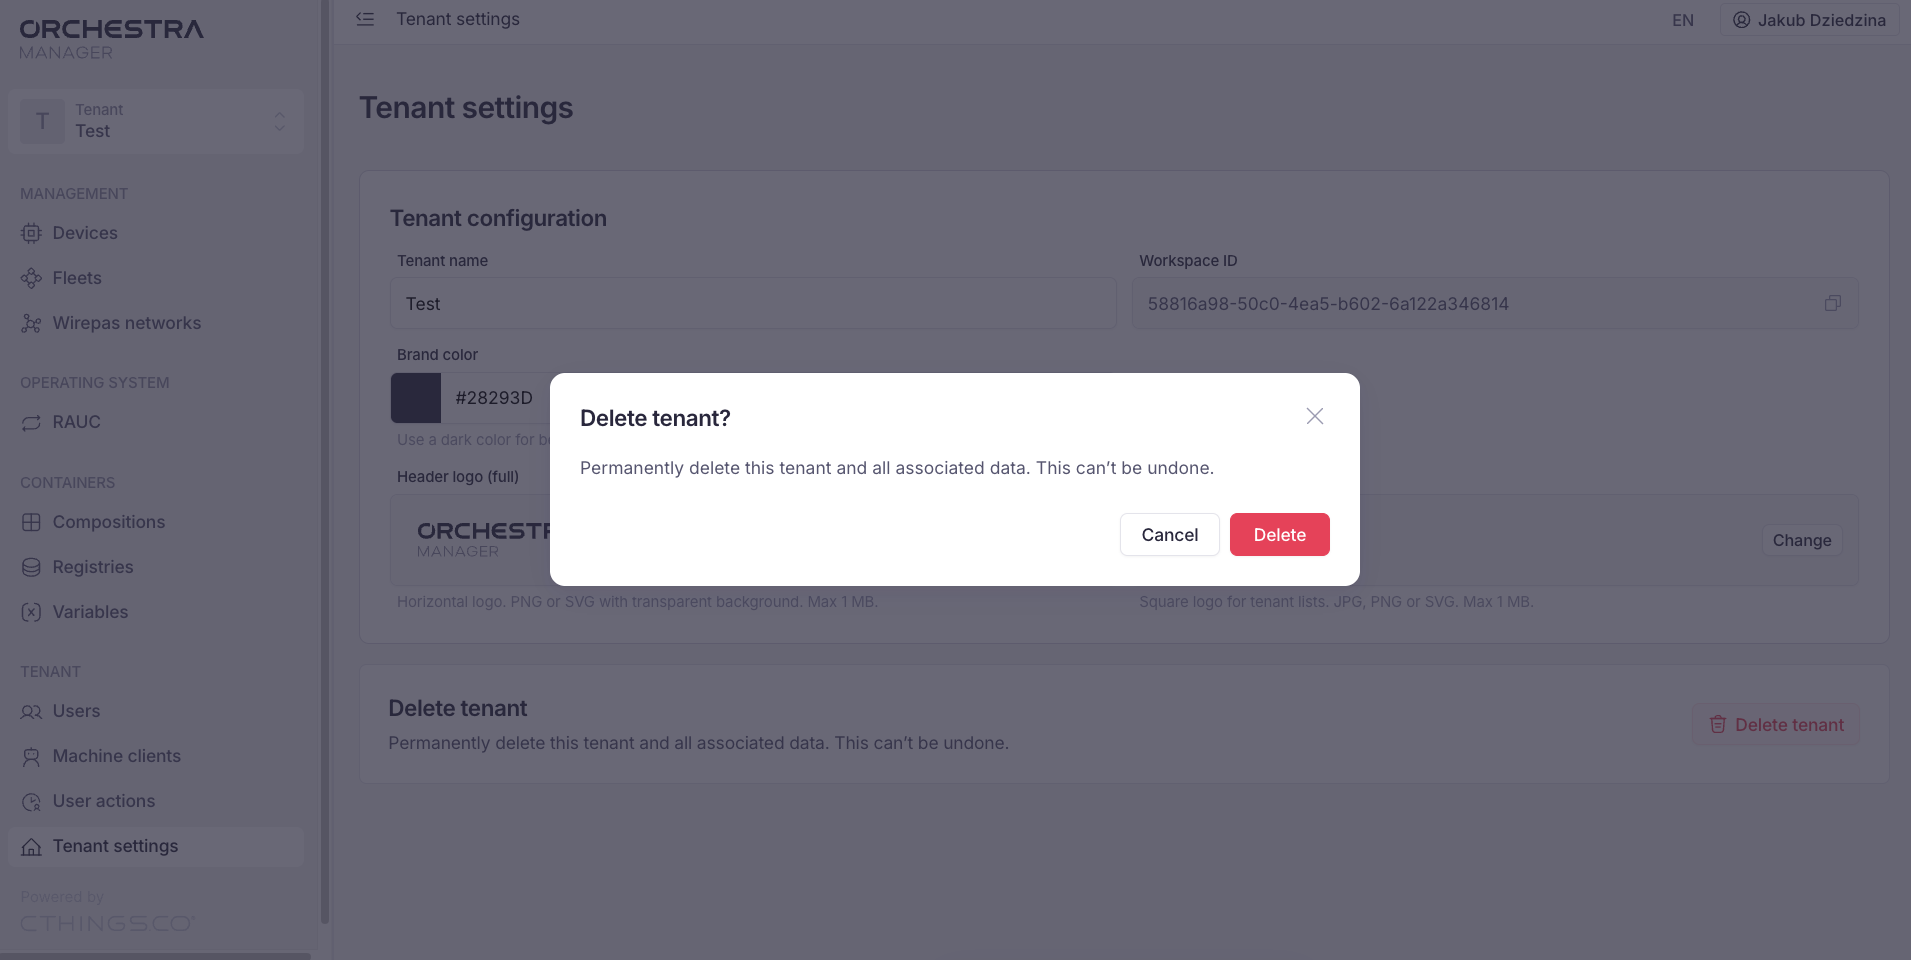
Tenant settings
Tenant settings let you adapt the tenant to your organisation: its name, brand color and the logos shown in Orchestra Manager. This guide walks you through changing these settings, copying the Workspace ID and deleting the tenant.
In this view you can see information about your tenant, and also:
Note
After each change, a Changes made pop-up appears. Click Save to keep the changes or Cancel to discard them.
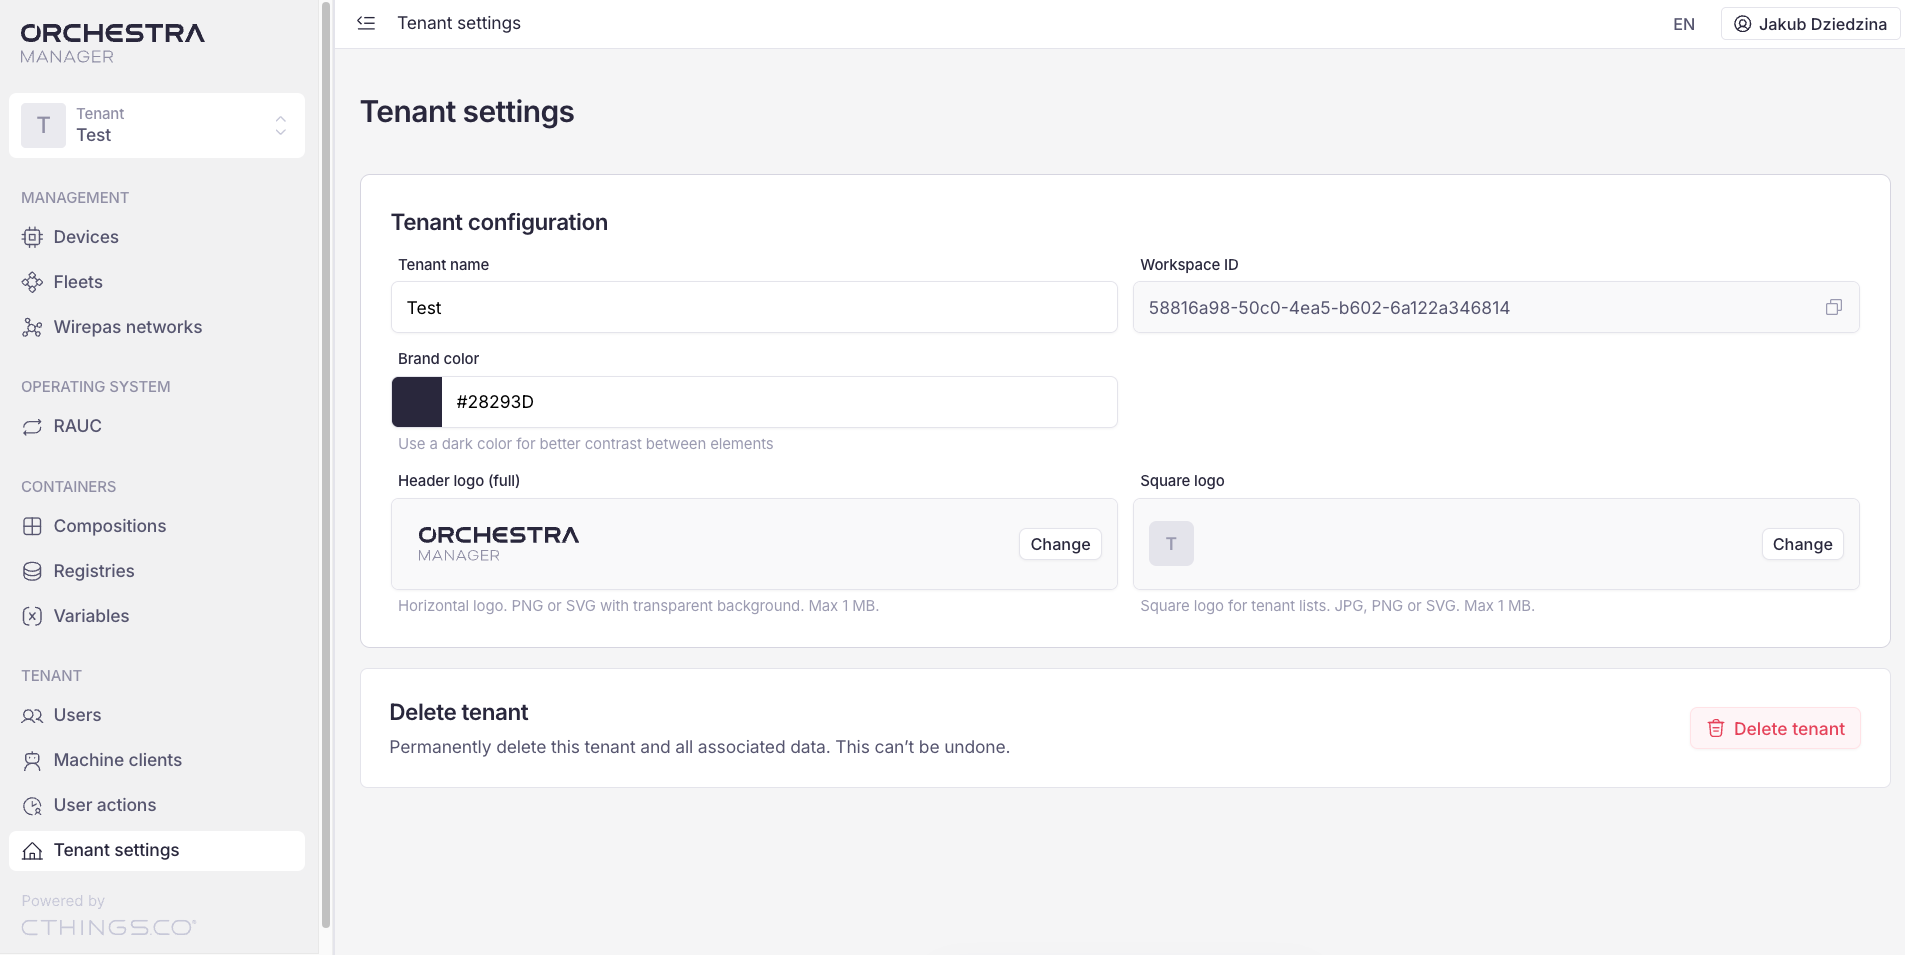
Change tenant’s name
In Tenant settings, type the new name in the Tenant name field.
Click Save in the Changes made pop-up.
A Tenant settings saved message appears in the top left of the page.
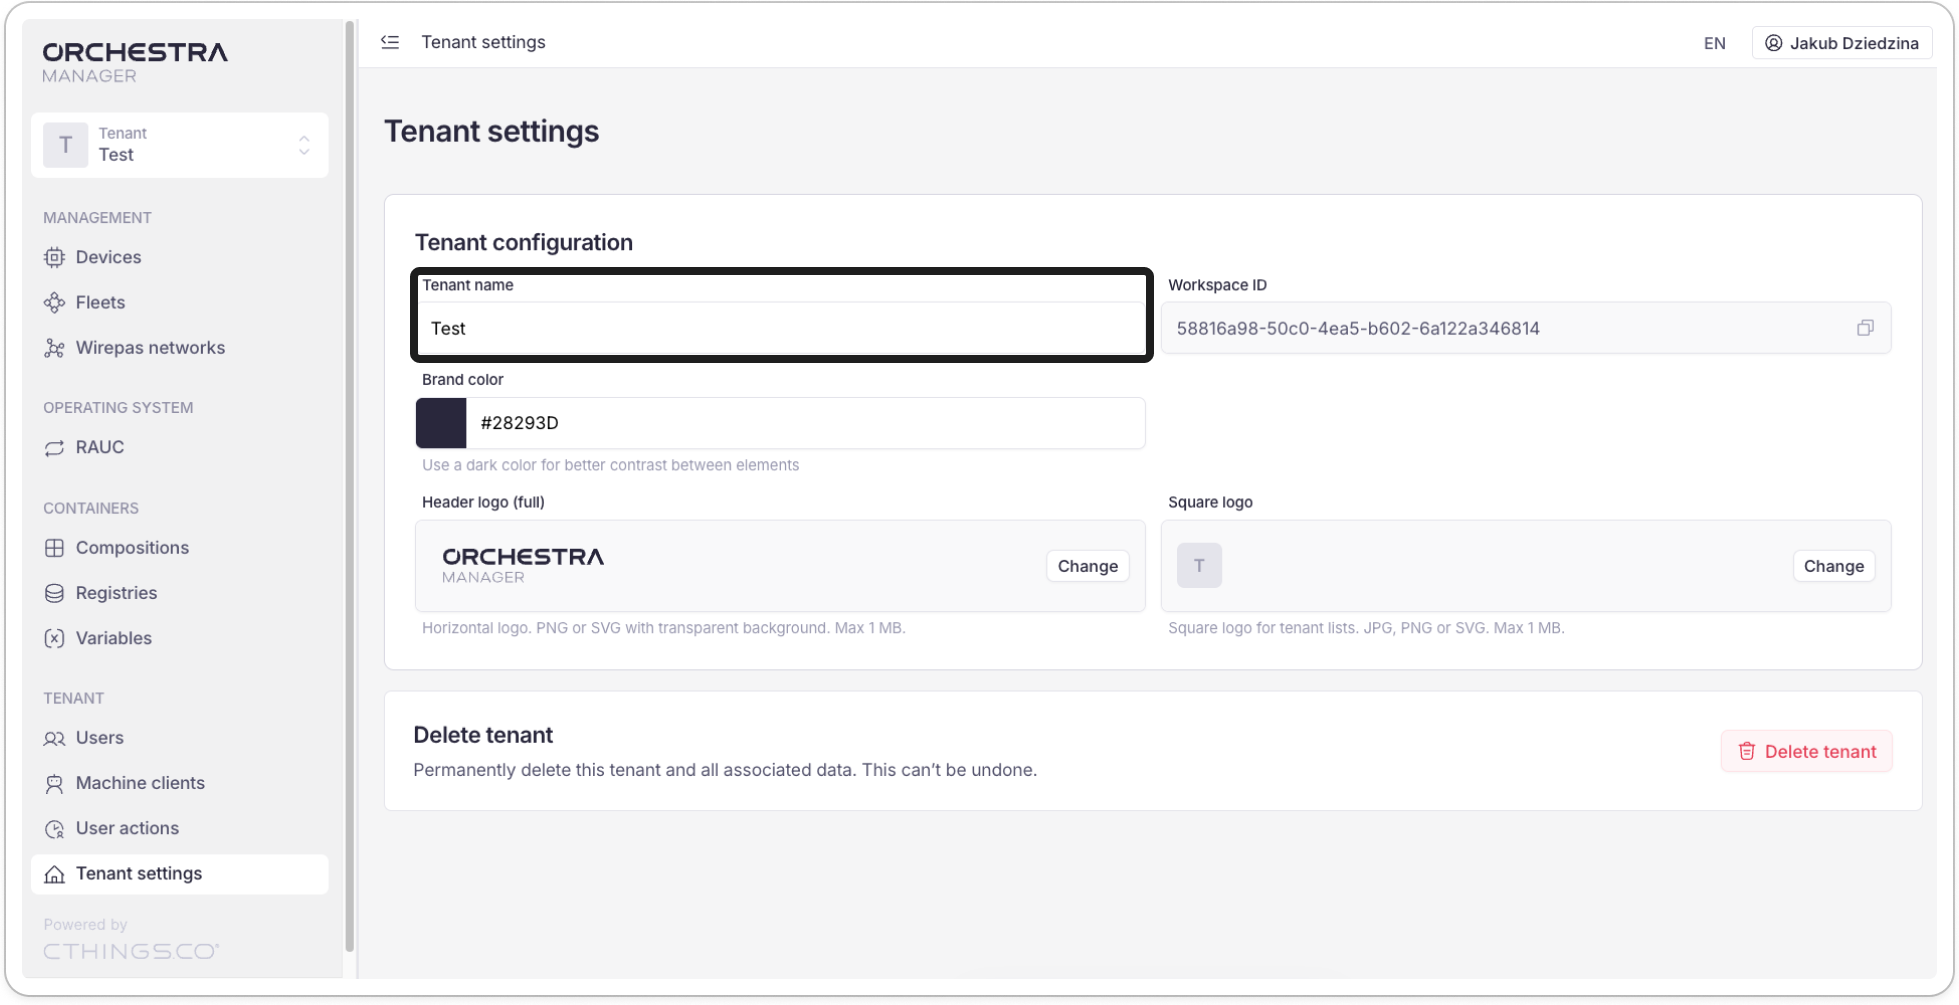
Change brand color
In Tenant settings, click the box with the color.
Select the new color by:
moving the color bar to the side, or
clicking the eyedropper icon.
Click Save in the Changes made pop-up.
Tip
Use a dark color for better contrast between elements.
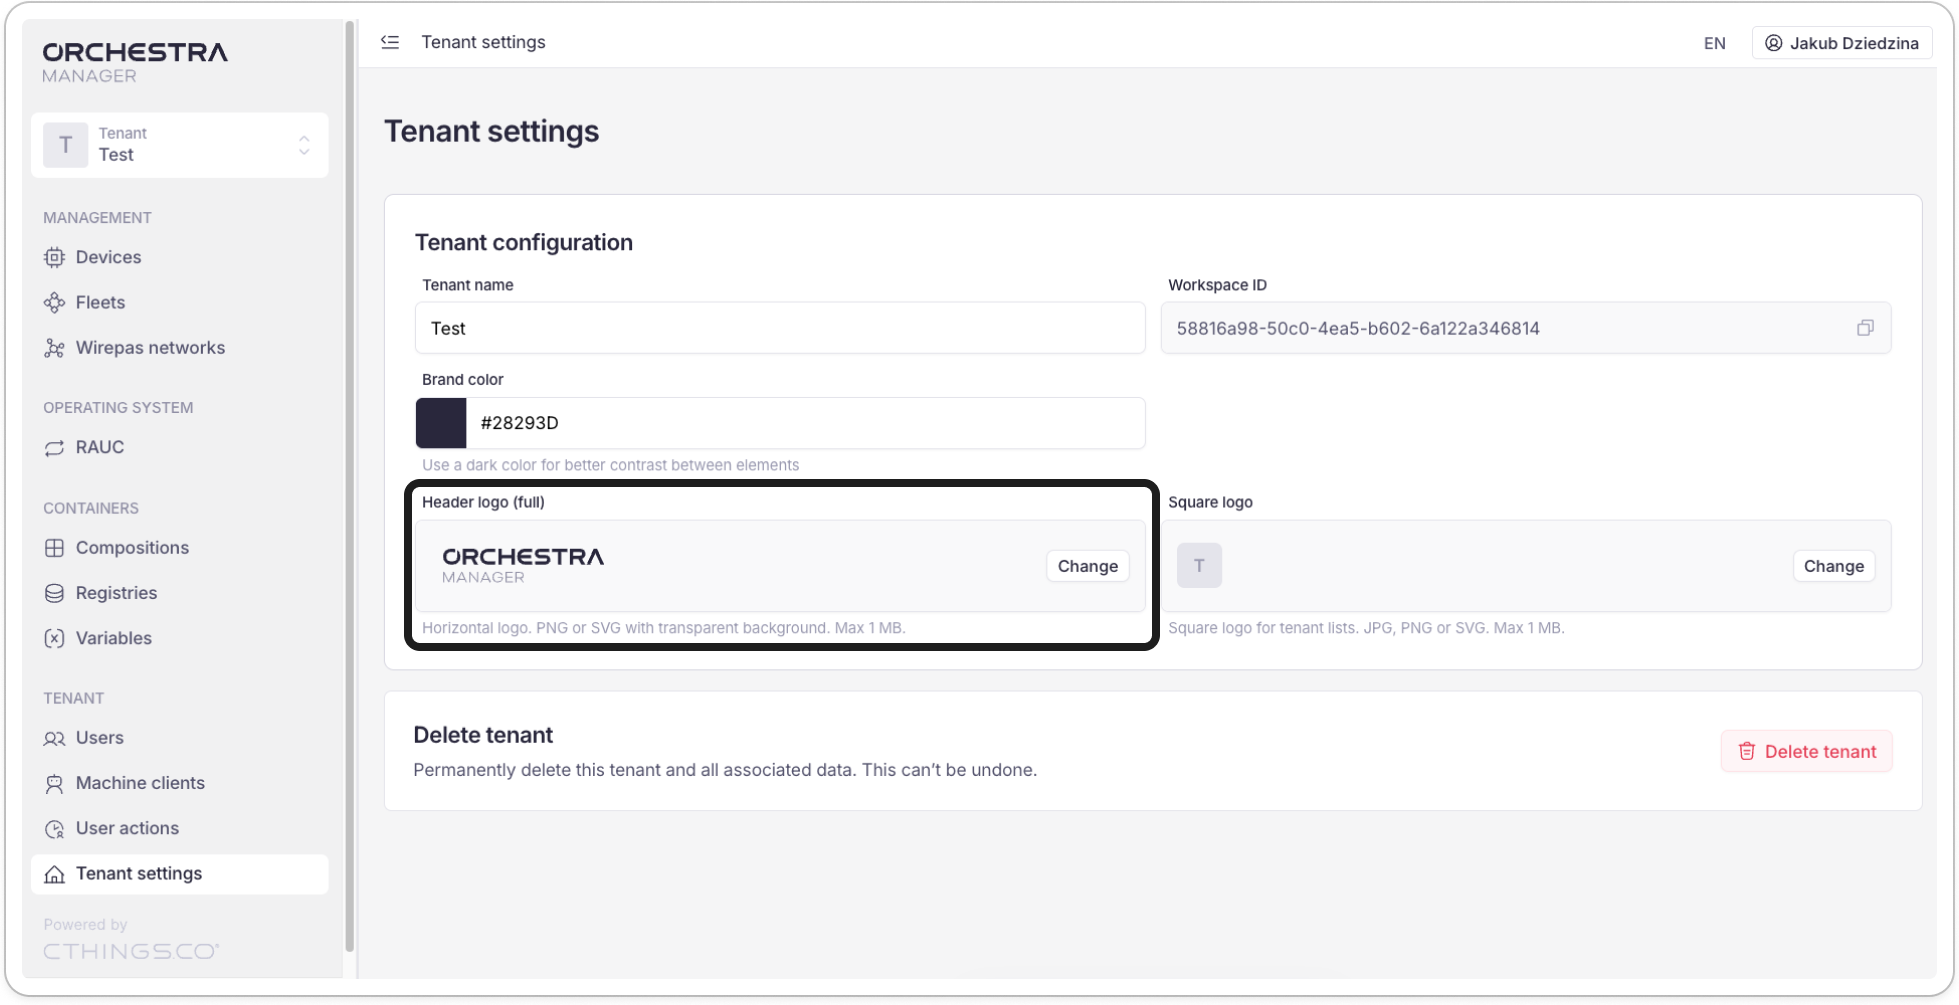
Change header logo
In Tenant settings, click Change in the Header logo (full) section.
Choose the logo from your device.
Click Save in the Changes made pop-up.
Note
The header logo must be a PNG or SVG file with a transparent background, no larger than 1 MB.
See and copy Workspace ID
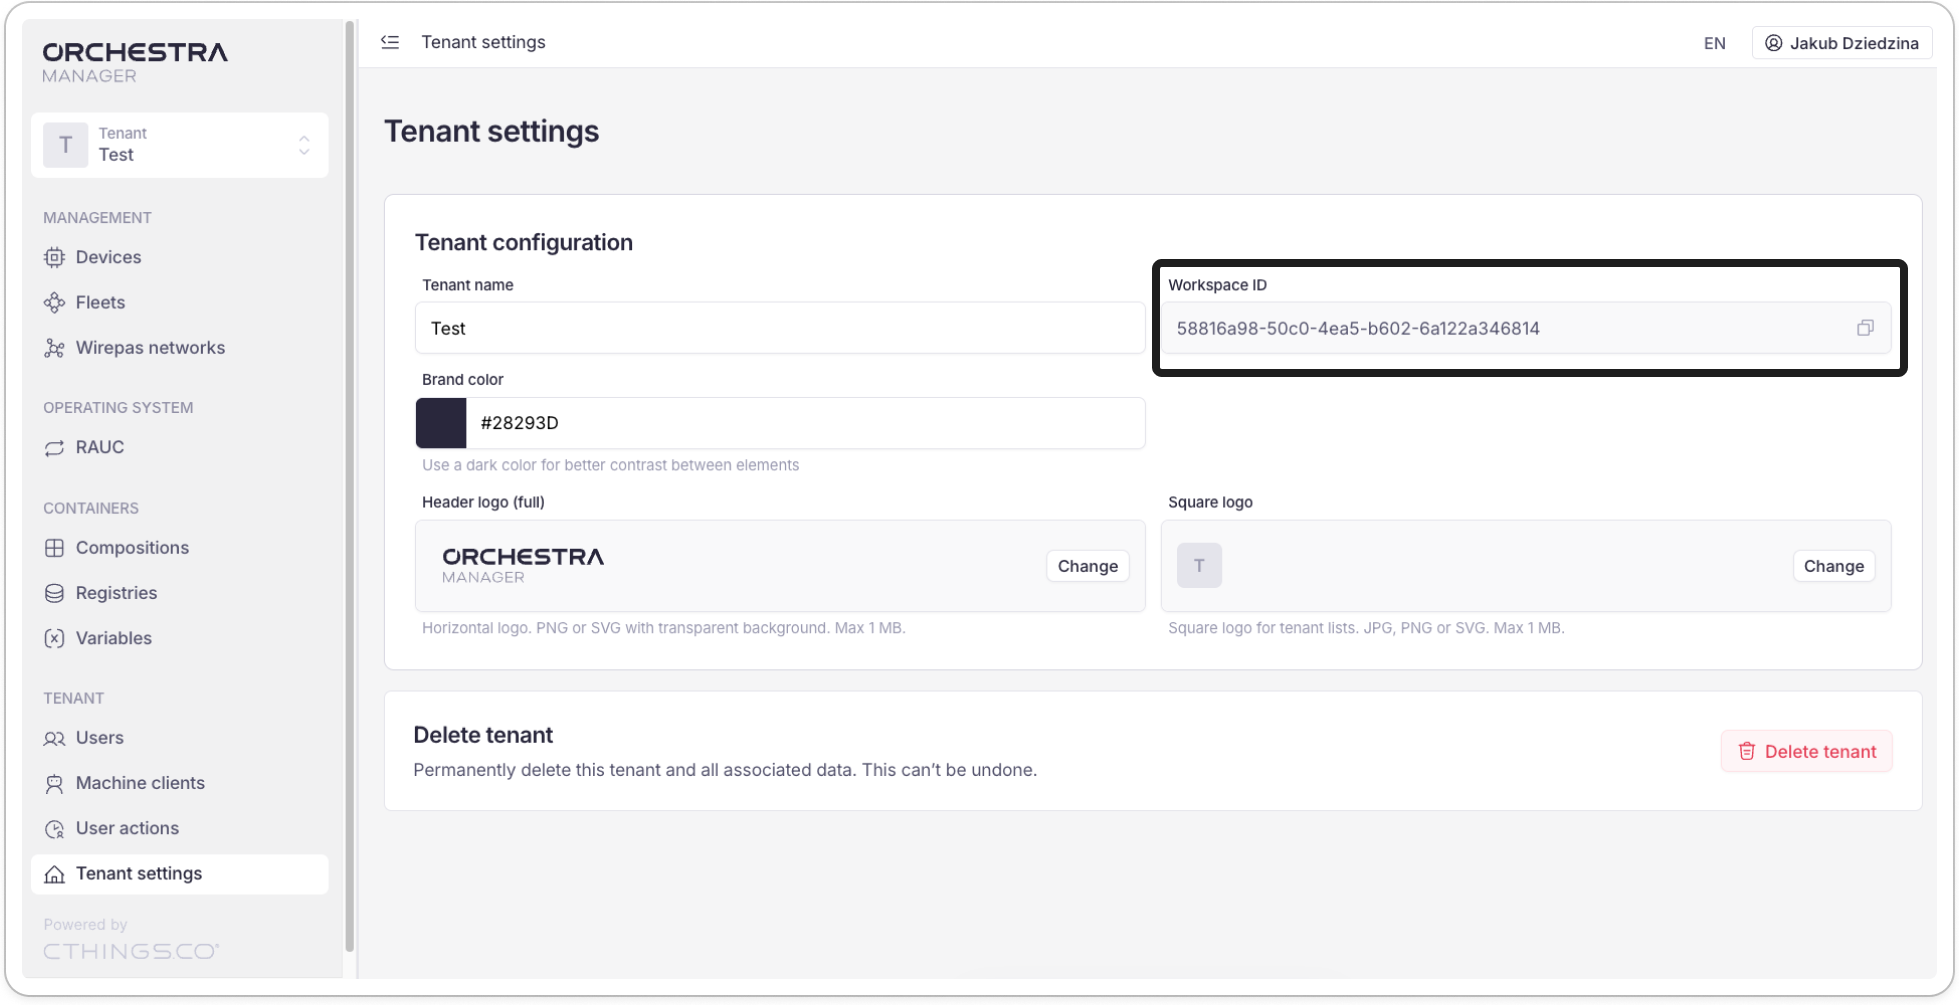
The Workspace ID field in Tenant settings shows your tenant’s ID. To copy it:
Move your cursor to the Workspace ID field.
Click the copy icon.
A Copied to clipboard message appears in the top left of the page.
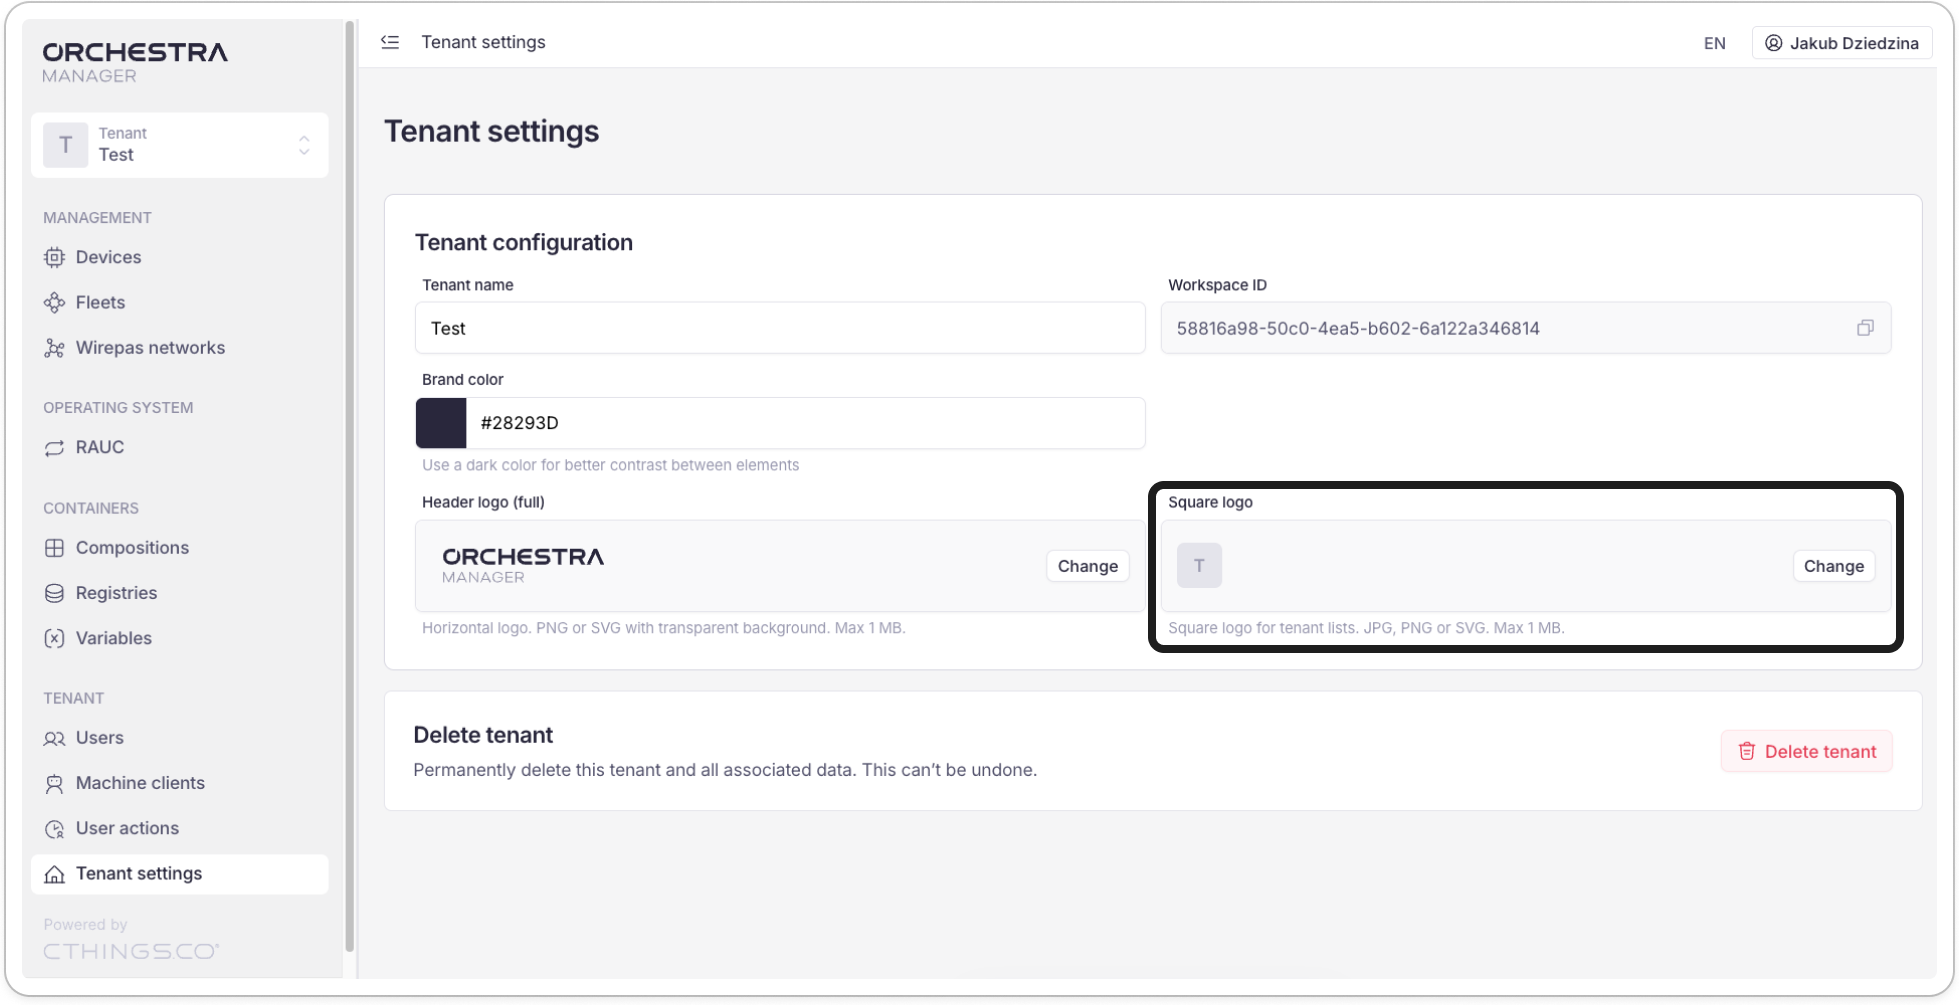
Change square logo
The square logo is shown in tenant lists.
In Tenant settings, click Change in the Square logo section.
Choose the logo from your device.
Click Save in the Changes made pop-up.
Note
The square logo must be a JPG, PNG or SVG file, no larger than 1 MB.
Delete tenant
Warning
Deleting a tenant deletes all data inside of it. This cannot be undone.
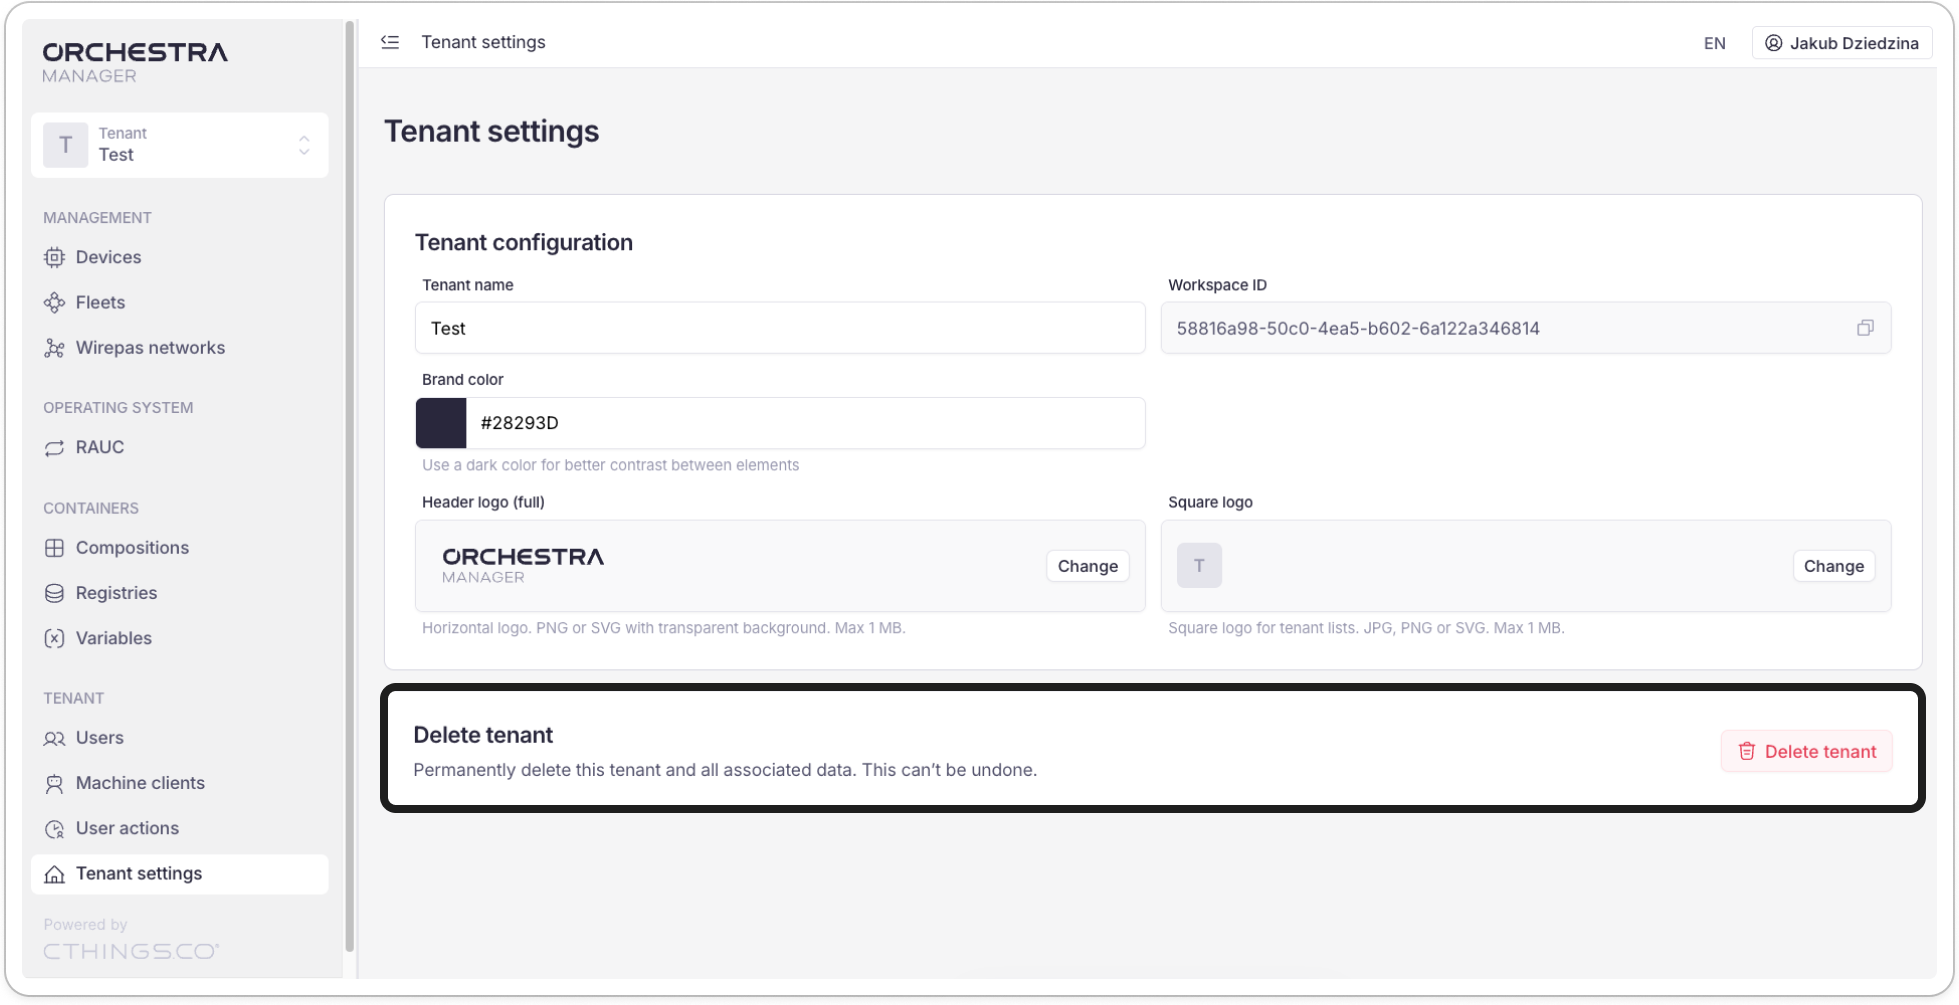
In Tenant settings, go to the Delete tenant section.
Click the red Delete tenant button.
Confirm by clicking the red Delete button.